Gigabit Fibre
For All
To many of us, the internet is a thing of mystery. It transcends physical barriers and makes seemingly impossible things happen, a bit like magic.
We don’t think of the unattractive underbelly of monster server farms and data centres because it acts like a free-moving entity. We assume it can only be stopped by dark forces that are probably employed by internet providers.
When a company like Gigaloch says it’s bringing a gigabit internet network to a rural community, it’s not always fully understood how that’s done.
Like the internet, our reality is not so magical. There’s no swishing of wands with little Gigaloch-blue lights on the end, although it would be very cool if there was.
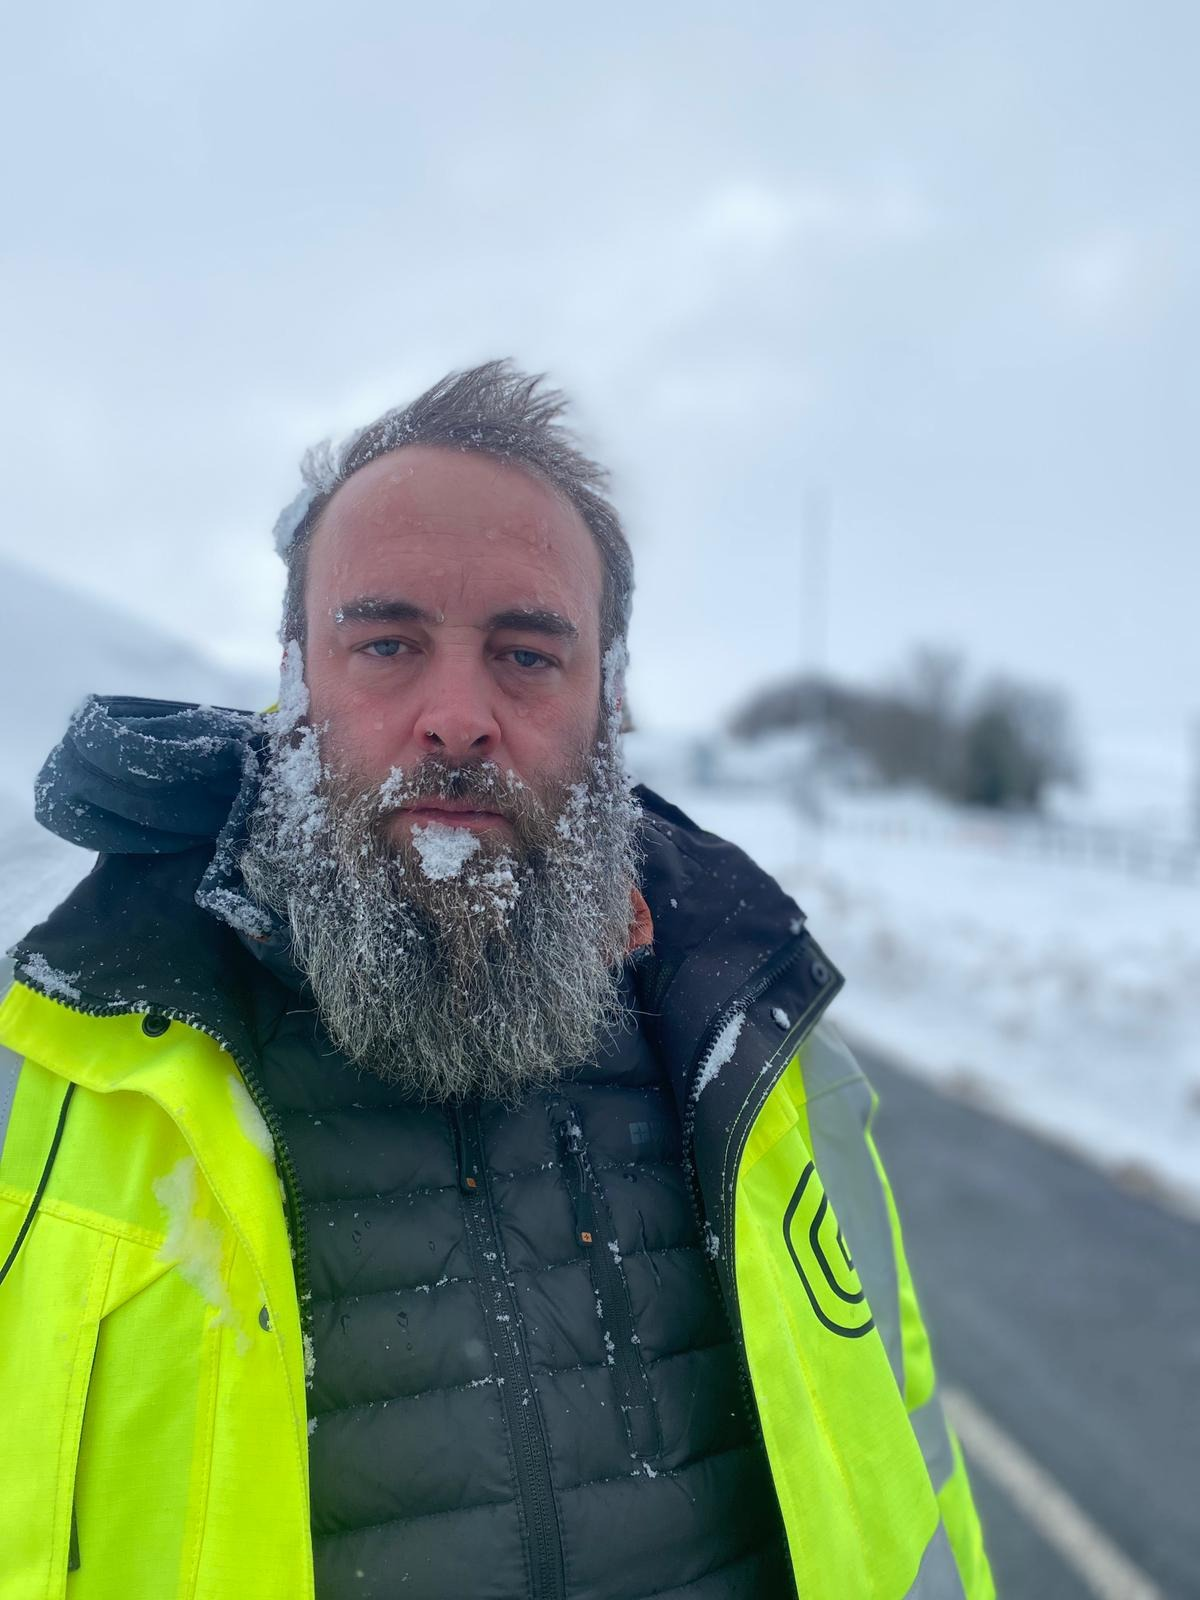
We cross water-logged fields, plough through rocky terrain, dig trenches around lochs and lakes and jump through the odd bureaucratic hoop to reach our customers in the most rural parts of Britain.
 This isn’t an article about what the internet is and how it works, that’s for another day (answers on a postcard please). It’s just a short step-by-step guide on how we build our gigabit fibre networks without using any magical powers whatsoever.
Before we start
Once it has been decided we’re going to build somewhere, we tend to mobilise our intrepid construction troops quickly, but there’s also a surprising amount of work to do before we give them the nod.
We initially investigate the viability of a network by assessing the level of interest and support in the area and a key indicator of this is how many sign-ups we’ve received via our website.
Then we look at eligibility for Government funding and check no other provider plans to build there.
If all those boxes are ticked, our design team map out a preliminary route for our fibre network outlining where we need to bury our fibre ducting to create an internet network. And they work out some important aspects of the build as they go.
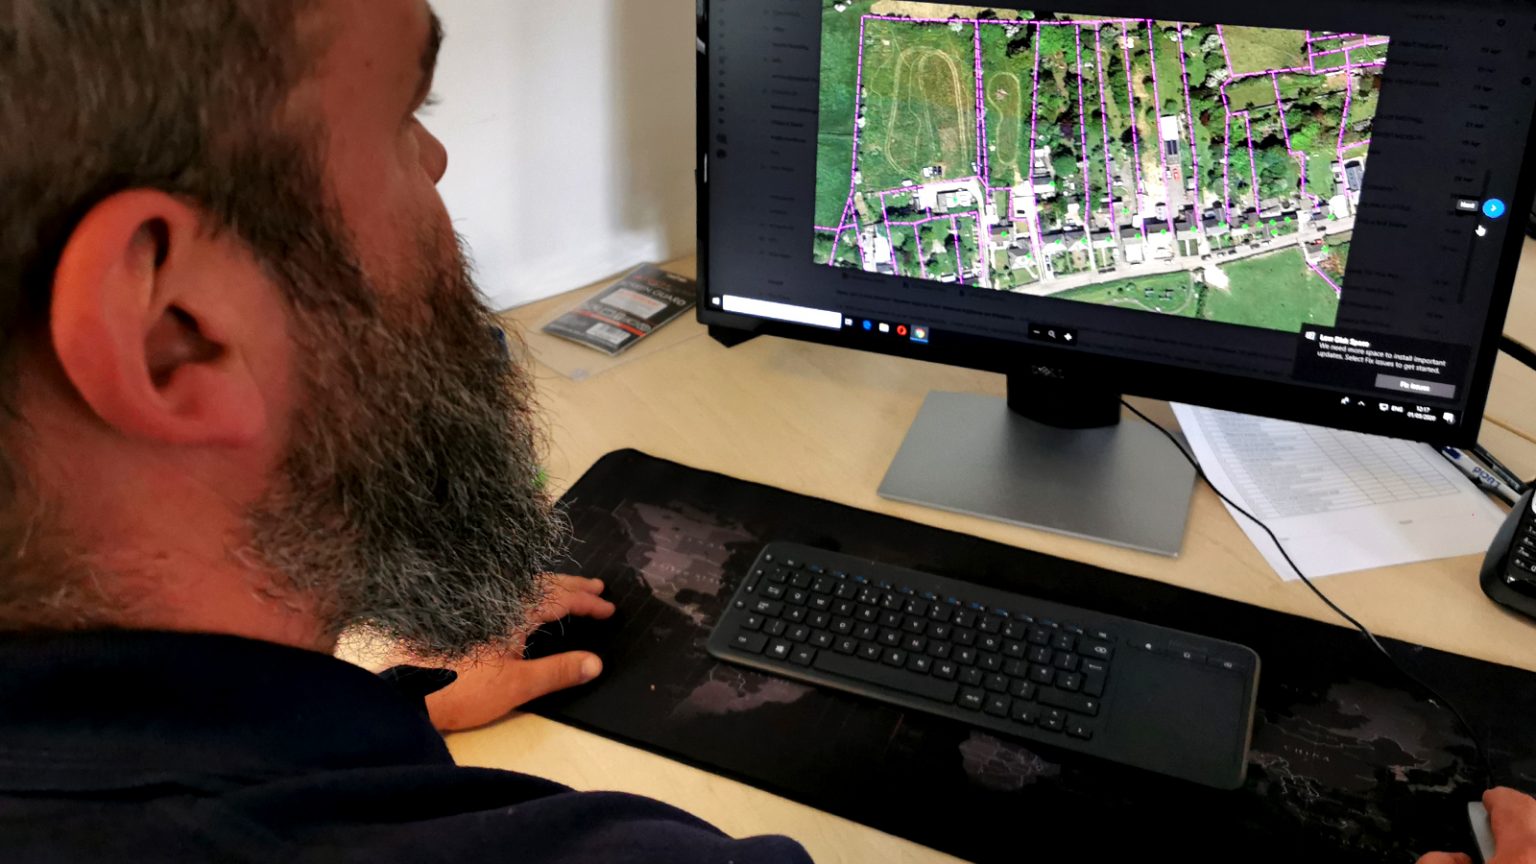
Step 1 – Design the network, but expect it to change. A lot.
Network designer Paul Walker explained:
“We don’t just map out the shortest path, there’s a lot that can determine the best route for a network. For example, building chambers and crossing roads can be time consuming, costly and a little disruptive. But playing around with the route and trying another direction, will often bring these numbers down.”
 Paul said one of the most important decisions to make is where to build a cabinet, the heartbeat of any network. But before we begin the lengthy and expensive process of commissioning one, we need to make sure it’s the right choice of location.
He said: “A cabinet has to be within 20km of the houses it serves, so we need to make sure all of the properties are within range but also that we are physically able to route fibre back to it.
“One network we have been working on had a perfect location, we had the support of the landowners, and it was very central to the build, which is ideal.
“But it was on a hill and one side of the land was very rocky. It would have been extremely difficult to put fibre through from the direction of a number of houses. In the end, we had to look for a new location, but many other options had similar issues.
“That’s why it’s so important we do this groundwork before we rush in and start the build.”
When most of these issues are ironed out, the design team creates a preliminary map, which is usually based on our best-case scenario with the information we have.
This sets the ball rolling for the project’s coordinator, but there’s almost always a lot more collaboration with the planning team as the project evolves and the plan needs to change.
Step 2 – Form a lasting working relationship with landowners
Cheshire project coordinator Chelsey Newman said: “The very first thing we have to do is find out who owns the land where we want to build, because we can’t start anything until we have their permission.
“For some networks, this is fairly easy as it might only involve a small number of landowners and they’ll be enthusiastic and give us permission without any issues.”
But as Chelsey explained, it isn’t always so straightforward. Sometimes the planned network can span land with lots of small sections owned by many different people.
“It can get a little complicated. Not all of them will be easy to contact. They might be away or will only communicate via a land agent,” she said.
“We’re always very grateful when a landowner gets on board with what we are trying to do, but sometimes they’re not able to, or there is a reason they don’t want to. And we have to respect that, because we’re asking them to allow us to bury something on their land.
“When this happens, we need to go back to the planners to re-map the route, which could bring more landowners into the mix and the process starts again.”
Although Chelsey said this to-ing and fro-ing is par for the course, it can delay a build.
“It’s just something that isn’t always within our control. Customers will sometimes be frustrated if we haven’t started building somewhere yet, and we can’t always tell them why as that wouldn’t be fair to the landowner.
“We just have to keep going and eventually, we find a way through.”
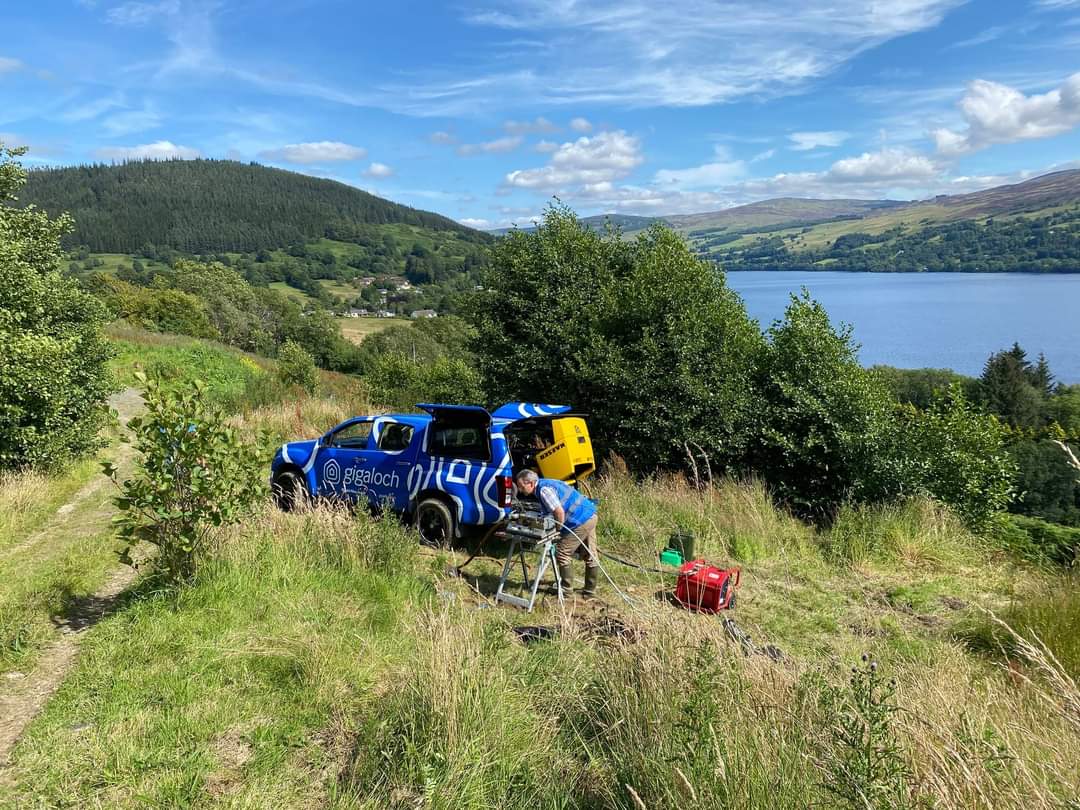
Step 3 – Put on your walking boots and survey, survey, survey
Fortunately, network building isn’t strictly linear, so as soon as the first landowner gives us permission, we can prepare to bury our first section of ducting.
First, we send a surveyor in to get the low-down on the land. And Ross, our head of surveying and planning, said accuracy here is paramount.
He said: “We’re working in quite difficult terrain in some cases, and we don’t really want any surprises when we’re already out with the mole-plough laying duct.
 “A lot of the time, we’re working on farms so we need to make sure we don’t hit anything that’s already there, such as service pipes, and that we don’t disturb any crops.
“If we do find any tricky ground to cover, we can test how the ducting goes into it and if needed, bring in some specialist equipment, so there are no delays on the day of the build.
“We want to cause as little disruption as possible because a good working relationship with the landowners is really important to us.”
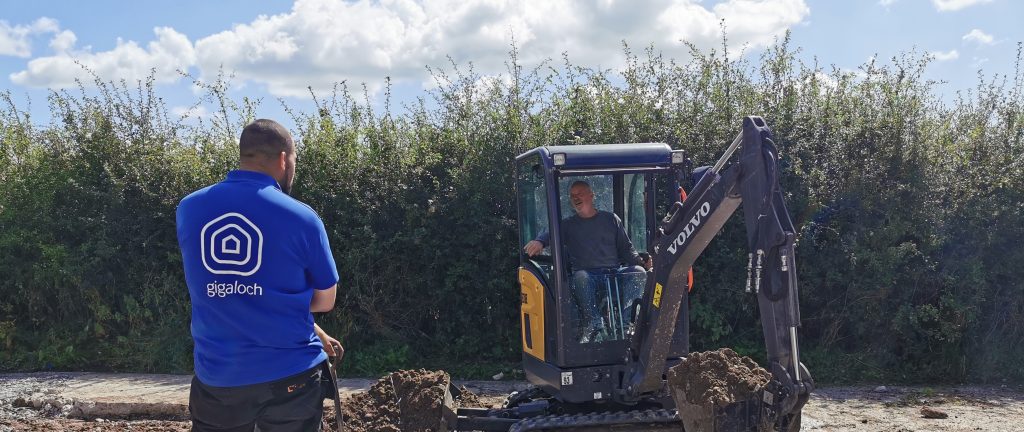
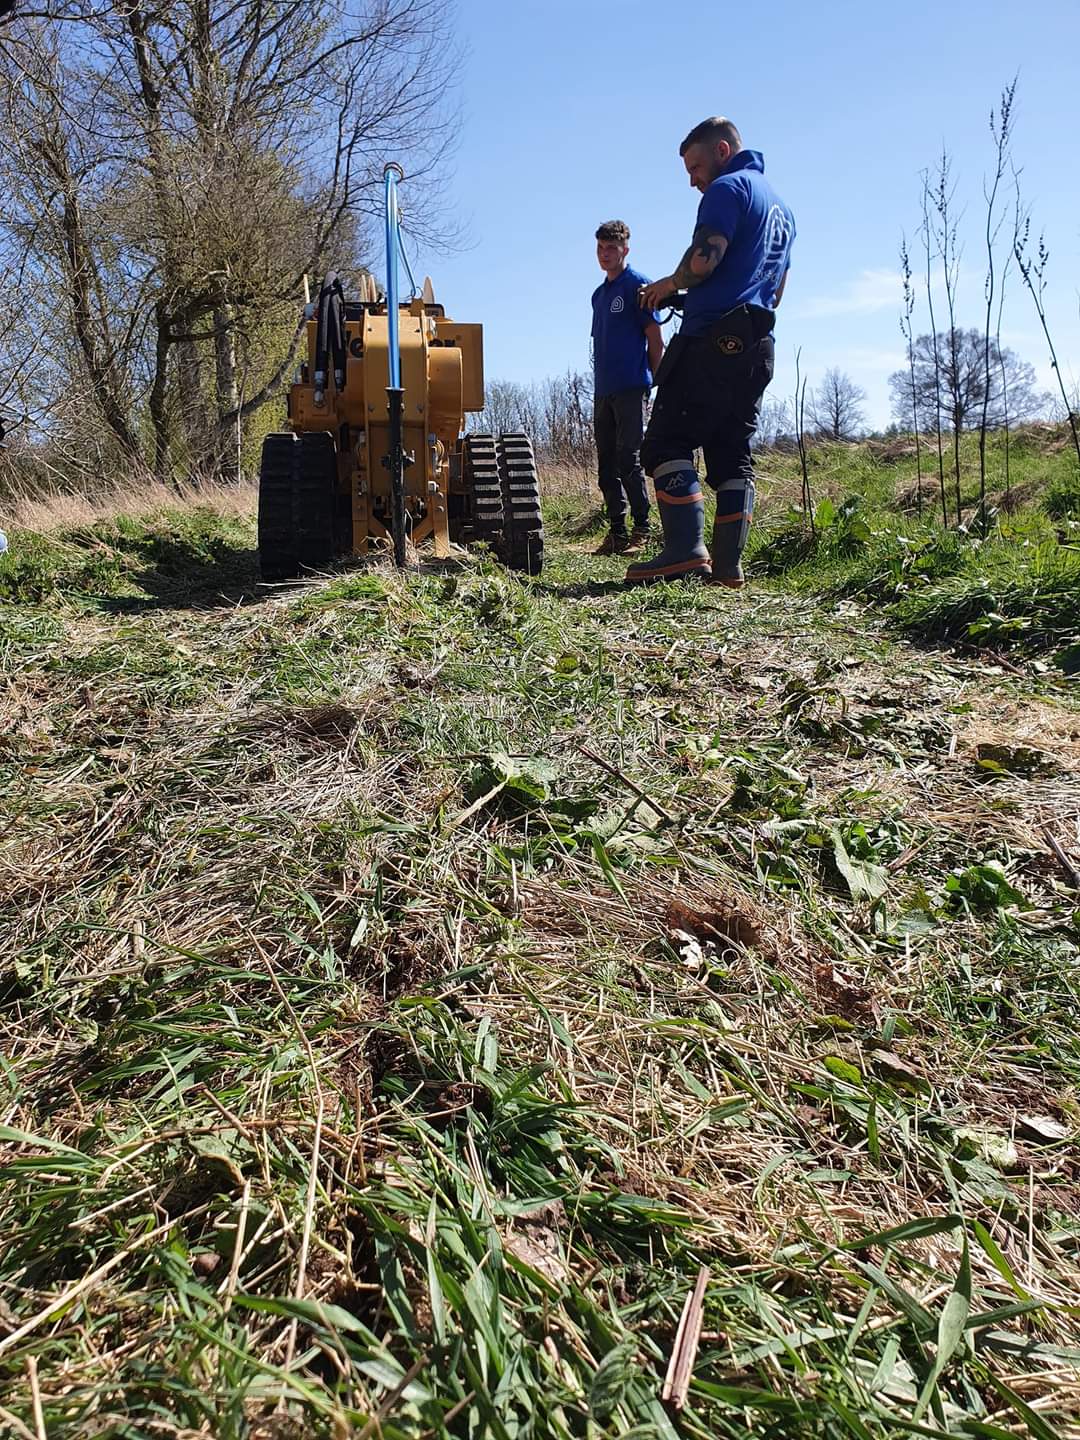
Step 4 – Bury many kilometres of fibre ducting
Now we’re finally ready to deploy the first team of construction workers, who are just one step behind the surveyors with the mole plough.
They install the spine of our network by burying 16mm fibre ducting along the entire route, stopping to install any underground chambers needed. Where there’s a road-crossing required, we might draft in an external team with direct drilling equipment.
 Step 5 – Install ducting at customers’ homes – but don’t mess up the lawn
Meanwhile our Home Connections Team has been calling on customers to assess how best to install ducting underneath their gardens to connect their homes to the network.
When they’re ready, in comes our mini mole-plough, operated by remote control, to install a smaller 7mm ducting that will run from the property to the nearest chamber. And of course, as this is happening, we’re being ultra-careful not to cause any damage to lawns and flower beds.
We then install a Home Kit, which feeds the duct inside the property. It’s secured neatly into a backplate on an external wall, which will later slot into an ONT (Optical Network Terminal) to connect to a customer’s modem.
 Step 6 – Blowing fibre
When a big enough section of ducting is installed, the blowing and splicing team arrive to do what we’ve all been waiting for, install the fibre itself.
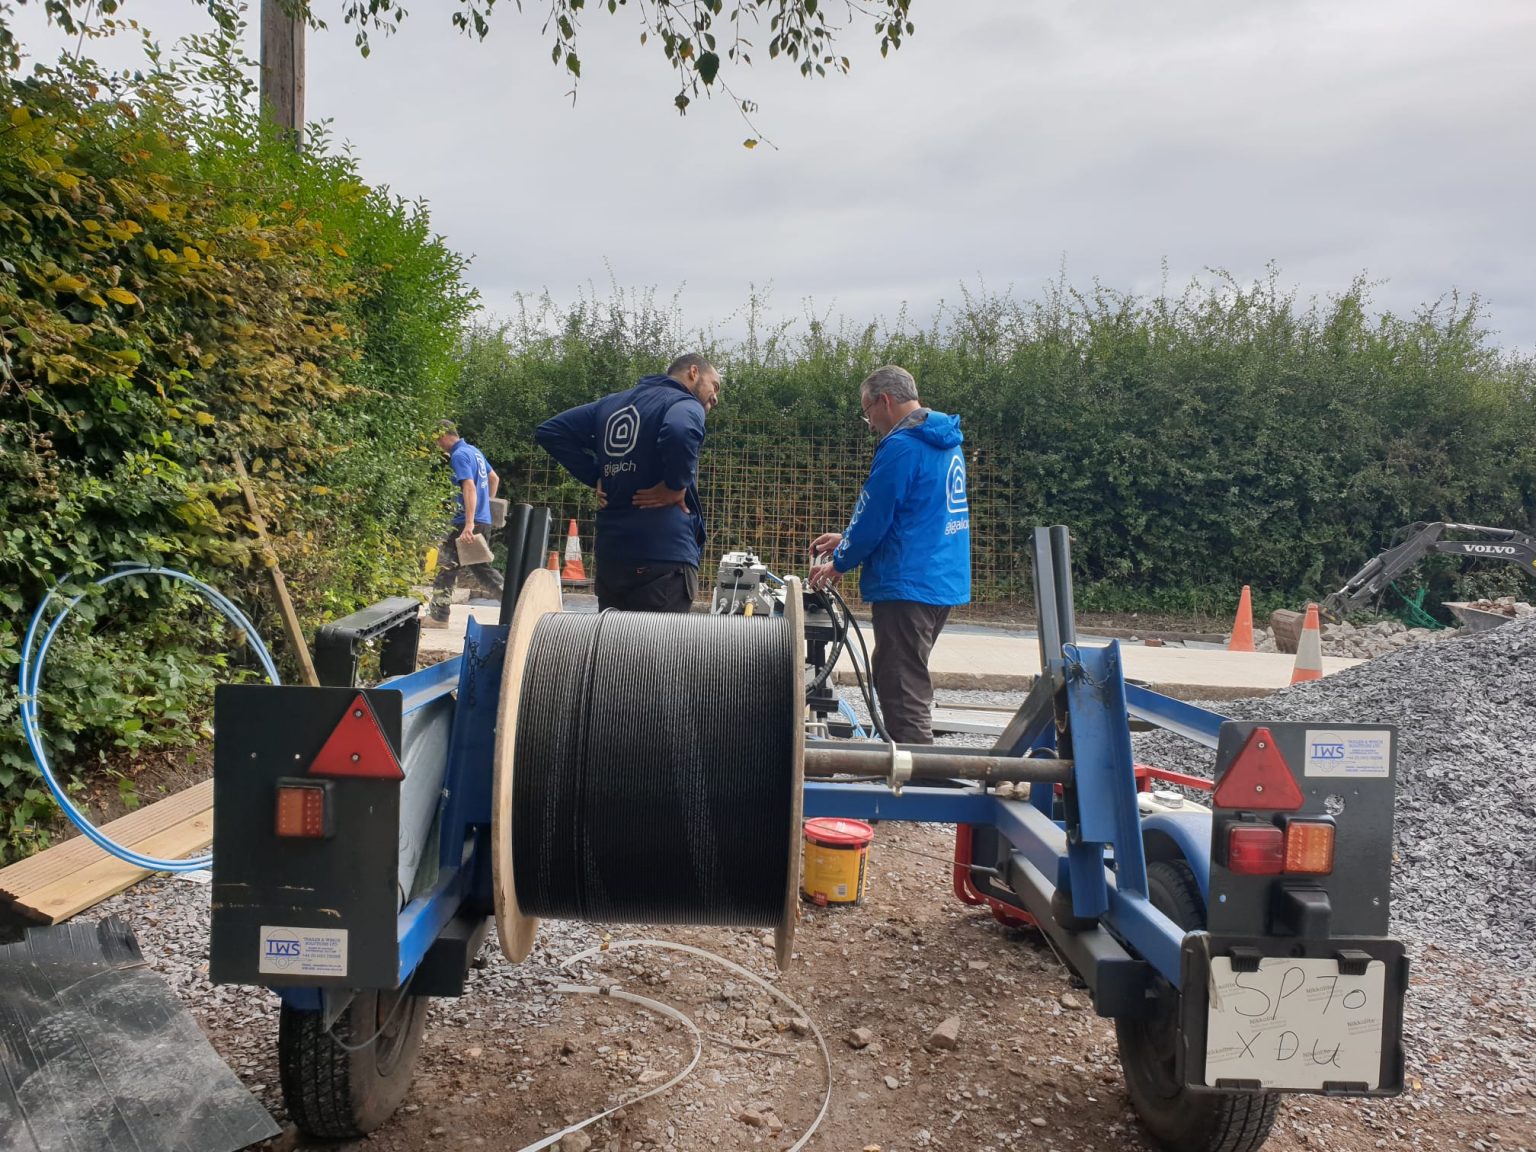 The fibre, which is actually a cable made up of up to 144 fibres, each no thicker than a strand of hair, is blown with specialist equipment through the buried ducting at distances of up to 1,000 metres.
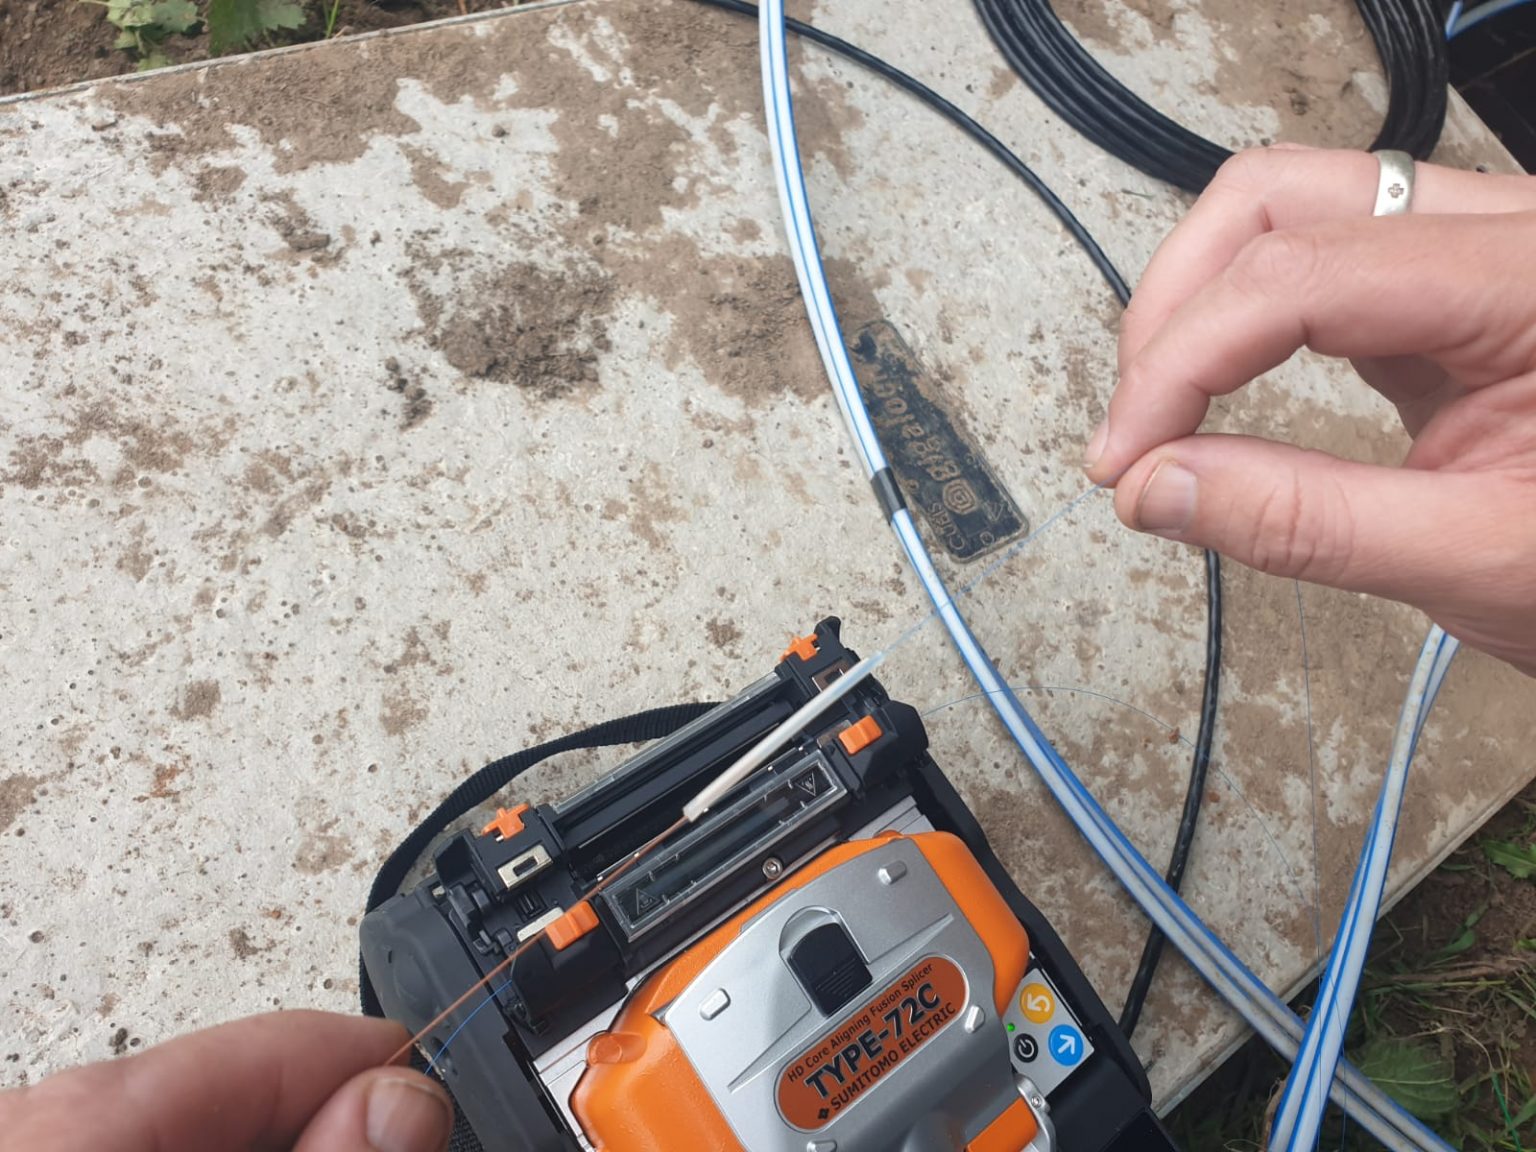
When the fibre reaches the chambers from both the spine and the home connections, they are spliced around a cable joint – and the fibre network is now taking shape.
 Step 7 – Build a cabinet and make your ultra-fast gigabit network live
Of course, that isn’t all that we’ve been doing. Almost as soon as its location was chosen, a cabinet was ordered and the relevant major national provider – referred to as a Tier 1 ISP (Internet Service Provider) – that covers the area was informed it will need to be connected to their network.
It can take 3-6 months for this fibre connection to be delivered to our cabinet, but when it does, customer connections can start to go live.
For most networks, particularly the larger ones, there doesn’t tend to be a big ‘switch on’ moment. Customers are likely to be connected in sections, when the part of the spine running through the chamber near their home makes it to the cabinet and joins the Optical Line Terminal (OLT) provided by the ISP.
Congratulations, you’ve built a fibre network!
And hey presto! That’s how you build a network. Our long treks, marathon digs and more than occasional battle with the elements will help a community to thrive.
With our gigabit internet service, customers will see an increase in the value of their properties, businesses will prosper and lots of aspects of everyday life will become easier and better for many people, which to us, is kind of remarkable.
Come to think of it, we do think it’s a little bit magic after all.
We need you — In order to get started in your area, we need the help of local people who can spread the word. The faster you sign up, the quicker we can get you connected. Be your community hero.